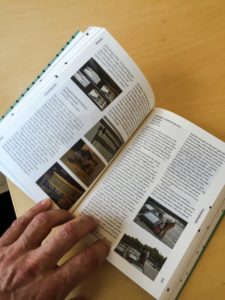
In part 1 of this blog I wrote on what you can discover on a book before you even open it! I mentioned the possibilities of paper and what it can do for the feel and look of the sides of a book.
In the following I would like to discuss other techniques to include the sides of a book in the concept. As I do in all my blogs I will explain a lot with images from books of my own shelves.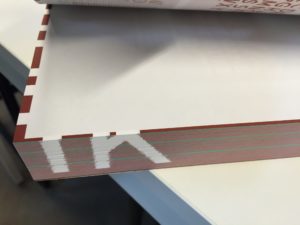
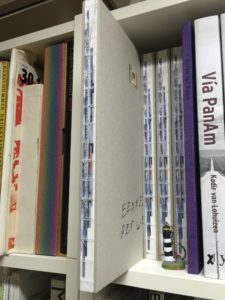
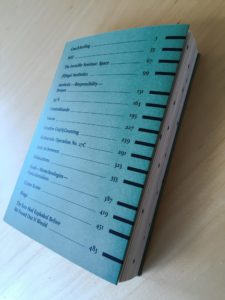
In this case the designer has created marks on the front side of the book that correspond with the contents page printed on the cover of the book. Apparently he or she has also mixed the page count to create an intriguing pattern of black spots (I encountered the book somewhere so can’t check this).
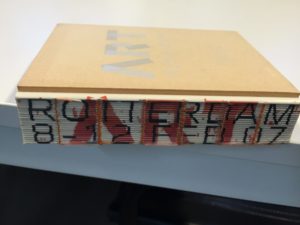
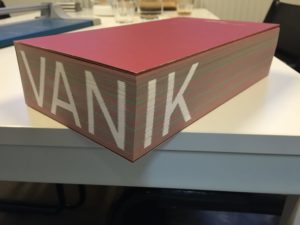 Sometimes you see a text on the sides of a book. Once you know the exact dimensions of the final book you can, with the help of Indesign, figure out how to position the various elements that will create the text. An extra check before printing comes recommended. Ask the printer for a folded and trimmed print out of the book. This will cost you some but prevents disaster.
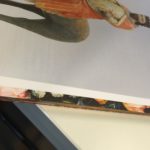
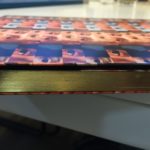
In this example you see a combination of printing a bleeding element to create a pattern and gold foil on the sides.
Gold or silver on the edges is of course the most classical finish for the sides. It is done with gold foil and nowadays only done by specialist companies. I know of only one such company in the Netherlands. They have this specialism because they print mainly bibles.
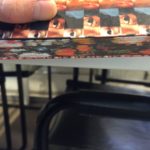
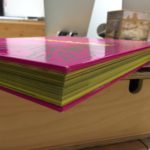
Other options are to screen print the sides allowing you to choose whichever colour you want and even print figures, patterns or texts on it.
As you can see a thing to take into consideration is your choice of paper. In the book ‘Dutch still life in plastic’ we overlooked the fact that the small text section that was printed on white uncoated paper would show in the title of the book, because it is so much whiter then the coated paper used for the rest of the book.
And then there is the spine. When binding without a cover you can position a text or a pattern on the spine too. The technique is much the same as with printing a bleeding text or pattern on the sides. The only way to apply this successfully is by having an exact dummy made by the binder. Don’t forget to discuss with your printer a way to check your file before printing.